How to Register a Smart SIM in the Philippines
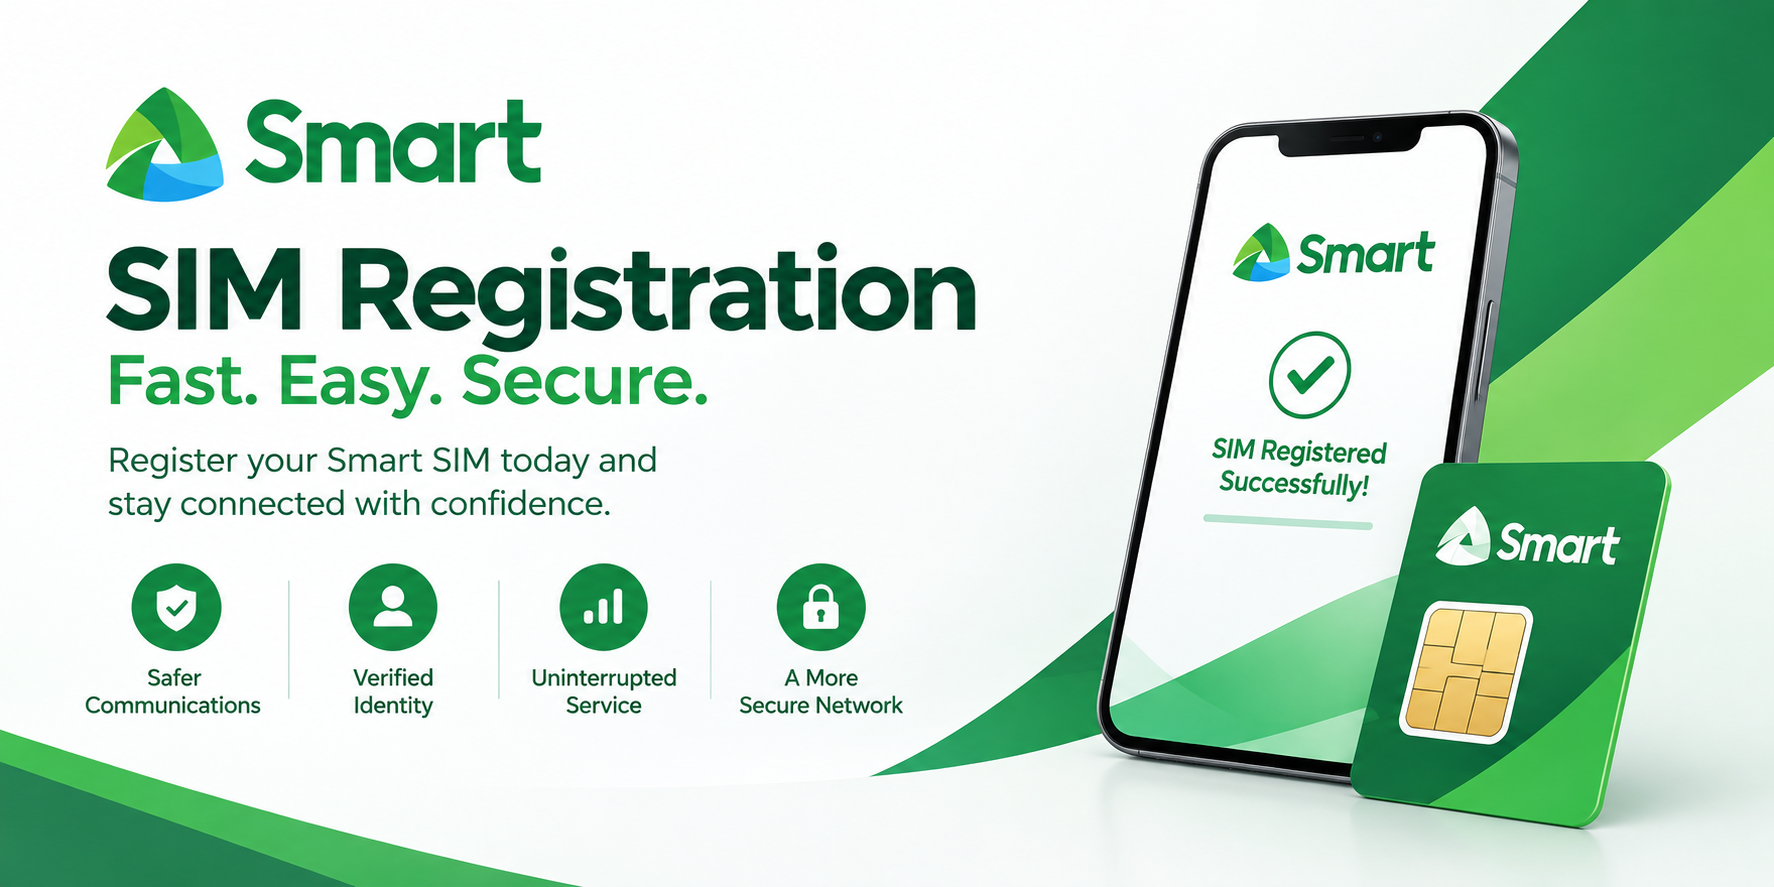
If you own a Smart, TNT, or Smart Bro SIM in the Philippines, registering it isn’t optional — it’s required by law. Under Republic Act No. 11934, also known as the SIM Registration Act, every SIM card in the country must be linked to a verified identity. The law was introduced primarily to fight smishing scams and other SIM-enabled fraud that thrived on the anonymity of unregistered prepaid numbers. Any SIM left unregistered past the deadline set for it gets deactivated, so it’s worth doing sooner rather than later.
Here’s exactly how to get it done, whether you’re a new user or someone with an existing number.
What You’ll Need
Before you start, have these ready:
- Your mobile number
- Full legal name, date of birth, sex, and current address
- A valid government-issued ID with photo. Acceptable IDs include a passport, the Philippine National ID (PhilSys), UMID/SSS ID, GSIS e-Card, driver’s license, NBI Clearance, PRC ID, voter’s ID, senior citizen’s card, PWD ID, or similar. A digital or physical copy of this ID will need to be uploaded or shown.
- Access to your phone, since you’ll receive a One-Time Password (OTP) by SMS during the process.
If you’re registering on behalf of a business or corporate line, you’ll also need a SEC Certificate of Registration, a board resolution naming the authorized representative, and (if applicable) a Special Power of Attorney.
Step-by-Step: Registering Online
This is the fastest and most common method for Smart, TNT, and Smart Bro subscribers.
- Go to the official Smart SIM registration portal at smart.com.ph/simreg.
- Enter your 10-digit Smart number (for example, 9171234567).
- Tick the box confirming you’ve read and understood the Terms and Conditions. Smart requires this step before you can proceed, unlike some other networks.
- Click “Send OTP.” You’ll receive a one-time password via text — this usually expires within a few minutes, so have your phone nearby.
- Enter the OTP on the registration page.
- Fill in your personal details — full name, birthdate, sex, and address — exactly as they appear on your ID.
- Upload a clear photo or scan of your valid government ID.
- Review and submit your Declaration, confirming that the information you provided is true and accurate.
- Wait for an SMS confirmation. Once your registration is processed, Smart will text you a confirmation, along with a Control Number — hang onto this, as it may be needed for future reference or disputes.
Other Ways to Register
If you’d rather not use the web portal, Smart offers a few alternative channels:
- GigaLife App — download it from the App Store or Google Play Store and register directly through the app.
- Smart Facebook Messenger chatbot — a conversational option for those who prefer messaging.
- Smart hotline — call *888 from a Smart or TNT mobile number, or 8888-1111 from a landline.
- Visit a Smart store in person — NTC officials have specifically encouraged this “assisted registration” route for subscribers who have trouble with the online process; store personnel are available to walk you through it.
If You’re a Smart Postpaid Subscriber
Postpaid users generally have it easier, since you already submitted your ID and personal details when you applied for your plan. All you typically need to do is text YES to 5858 to confirm that your existing information is accurate. You’ll get a confirmation message from Smart once your SIM is successfully registered.
If You Use Smart Bro (Broadband)
Smart Bro subscribers follow a slightly different flow for retrieving their OTP. You’ll need to check smart.com.ph/viewbroadbandsms for instructions specific to viewing your One-Time Password for broadband devices.
What New SIM Buyers Should Know
If you’re buying a brand-new Smart or TNT SIM, registration is now built into the activation process itself — you generally can’t activate a new SIM without registering it up front, since the requirement kicked in for all new activations once the law took effect.
A Few Practical Tips
- Double-check your ID details before submitting. Mismatched names or blurry ID photos are among the most common causes of registration errors or delays.
- Register each SIM separately if you own more than one number — registration is per SIM, not per person.
- Keep your reference or Control Number. If something goes wrong with your registration status later, this is usually the first thing support will ask for.
- Watch for the freebie. Smart Prepaid and TNT subscribers have historically received bonus data (such as 3GB free) upon successfully completing registration — a nice incentive on top of just staying compliant.
Bottom Line
Registering your Smart SIM comes down to three things: a valid ID, a working phone number to receive the OTP, and a few minutes on the official portal or app. Skipping it isn’t really an option anymore, since unregistered SIMs are subject to deactivation under the law — but the process itself, done through Smart’s own portal or the GigaLife app, is quick and mostly painless.